

Troubleshooting Electrical Wiring: Tracing Hidden Low Voltage Shorts in Walls
The "Ghost" in the Walls: Why Your Fuse Keeps Popping
There is no sound more frustrating to an HVAC technician than the tiny pop of a 3 amp fuse blowing the second you flip the power back on. You’ve checked the contactor. You’ve looked at the thermostat. Everything looks fine on the surface.
This is the nightmare scenario: a low voltage short hidden somewhere behind the drywall.
Unlike high voltage issues where burns and arc marks are often visible, low voltage (24V) control wiring problems are silent and invisible. A stray nail from a picture frame hung three years ago, a rodent in the attic, or insulation rubbing against a truss plate can strip a wire hairline-thin, grounding your 24V signal to the chassis.
In this guide, we aren't just checking components. We are going deep into wiring troubleshooting. We will cover how to trace invisible breaks, isolate the exact strand of thermostat wire causing the issue, and decide whether to repair or abandon the run.
The Tools of the Trade: Don't Guess, Test
Before you start hunting for a needle in a haystack, you need the right magnet. Do not keep feeding new fuses into the board; you will run out before you find the short.
Resettable Circuit Breaker (The "Lil' Popper"): This tool temporarily replaces the 3-amp fuse on your control board. When there is a short, it trips safely. When you fix the short, you reset it. It saves you money and frustration.
Multimeter with Continuity/Ohms: Essential for checking resistance.
Tone Generator and Probe Kit (Optional but Pro Level): If you need to physically locate where a wire runs inside a finished wall without cutting drywall, this is the secret weapon.
Phase 1: Divide and Conquer (Isolating the Short)
Hvac trouble shooting is primarily a game of elimination. You have three main sections where a short can hide:
The Equipment (Furnace/Air Handler Board)
The Thermostat (The device itself)
The Field Wiring (The wires running through your walls and out to the condenser)
Step 1: The "Disconnect" Test
Turn off the power. Remove the thermostat from the wallplate and disconnect the wires (R, W, Y, G, C) from the furnace control board.
Test: Power the furnace back on with only the board connected (no field wires).
Result: If the fuse holds, your board is fine. If the fuse pops immediately with no wires attached, the short is on the board itself (likely a bad component or backside solder bridge).
Step 2: Testing the Wire Run
With the wires disconnected at both ends (thermostat and furnace), you now have a "dead" strand of copper inside your wall.
Set your multimeter to Continuity (the sound wave symbol) or Ohms.
Place one probe on a wire (e.g., the Red wire) and the other probe on a ground source (the furnace cabinet or a known ground).
The Verdict: The meter should read "OL" (Open Line) or infinity. If you get a beep or a resistance reading (0.0 to 5.0 ohms), that wire is touching ground somewhere inside the wall. That is your short.
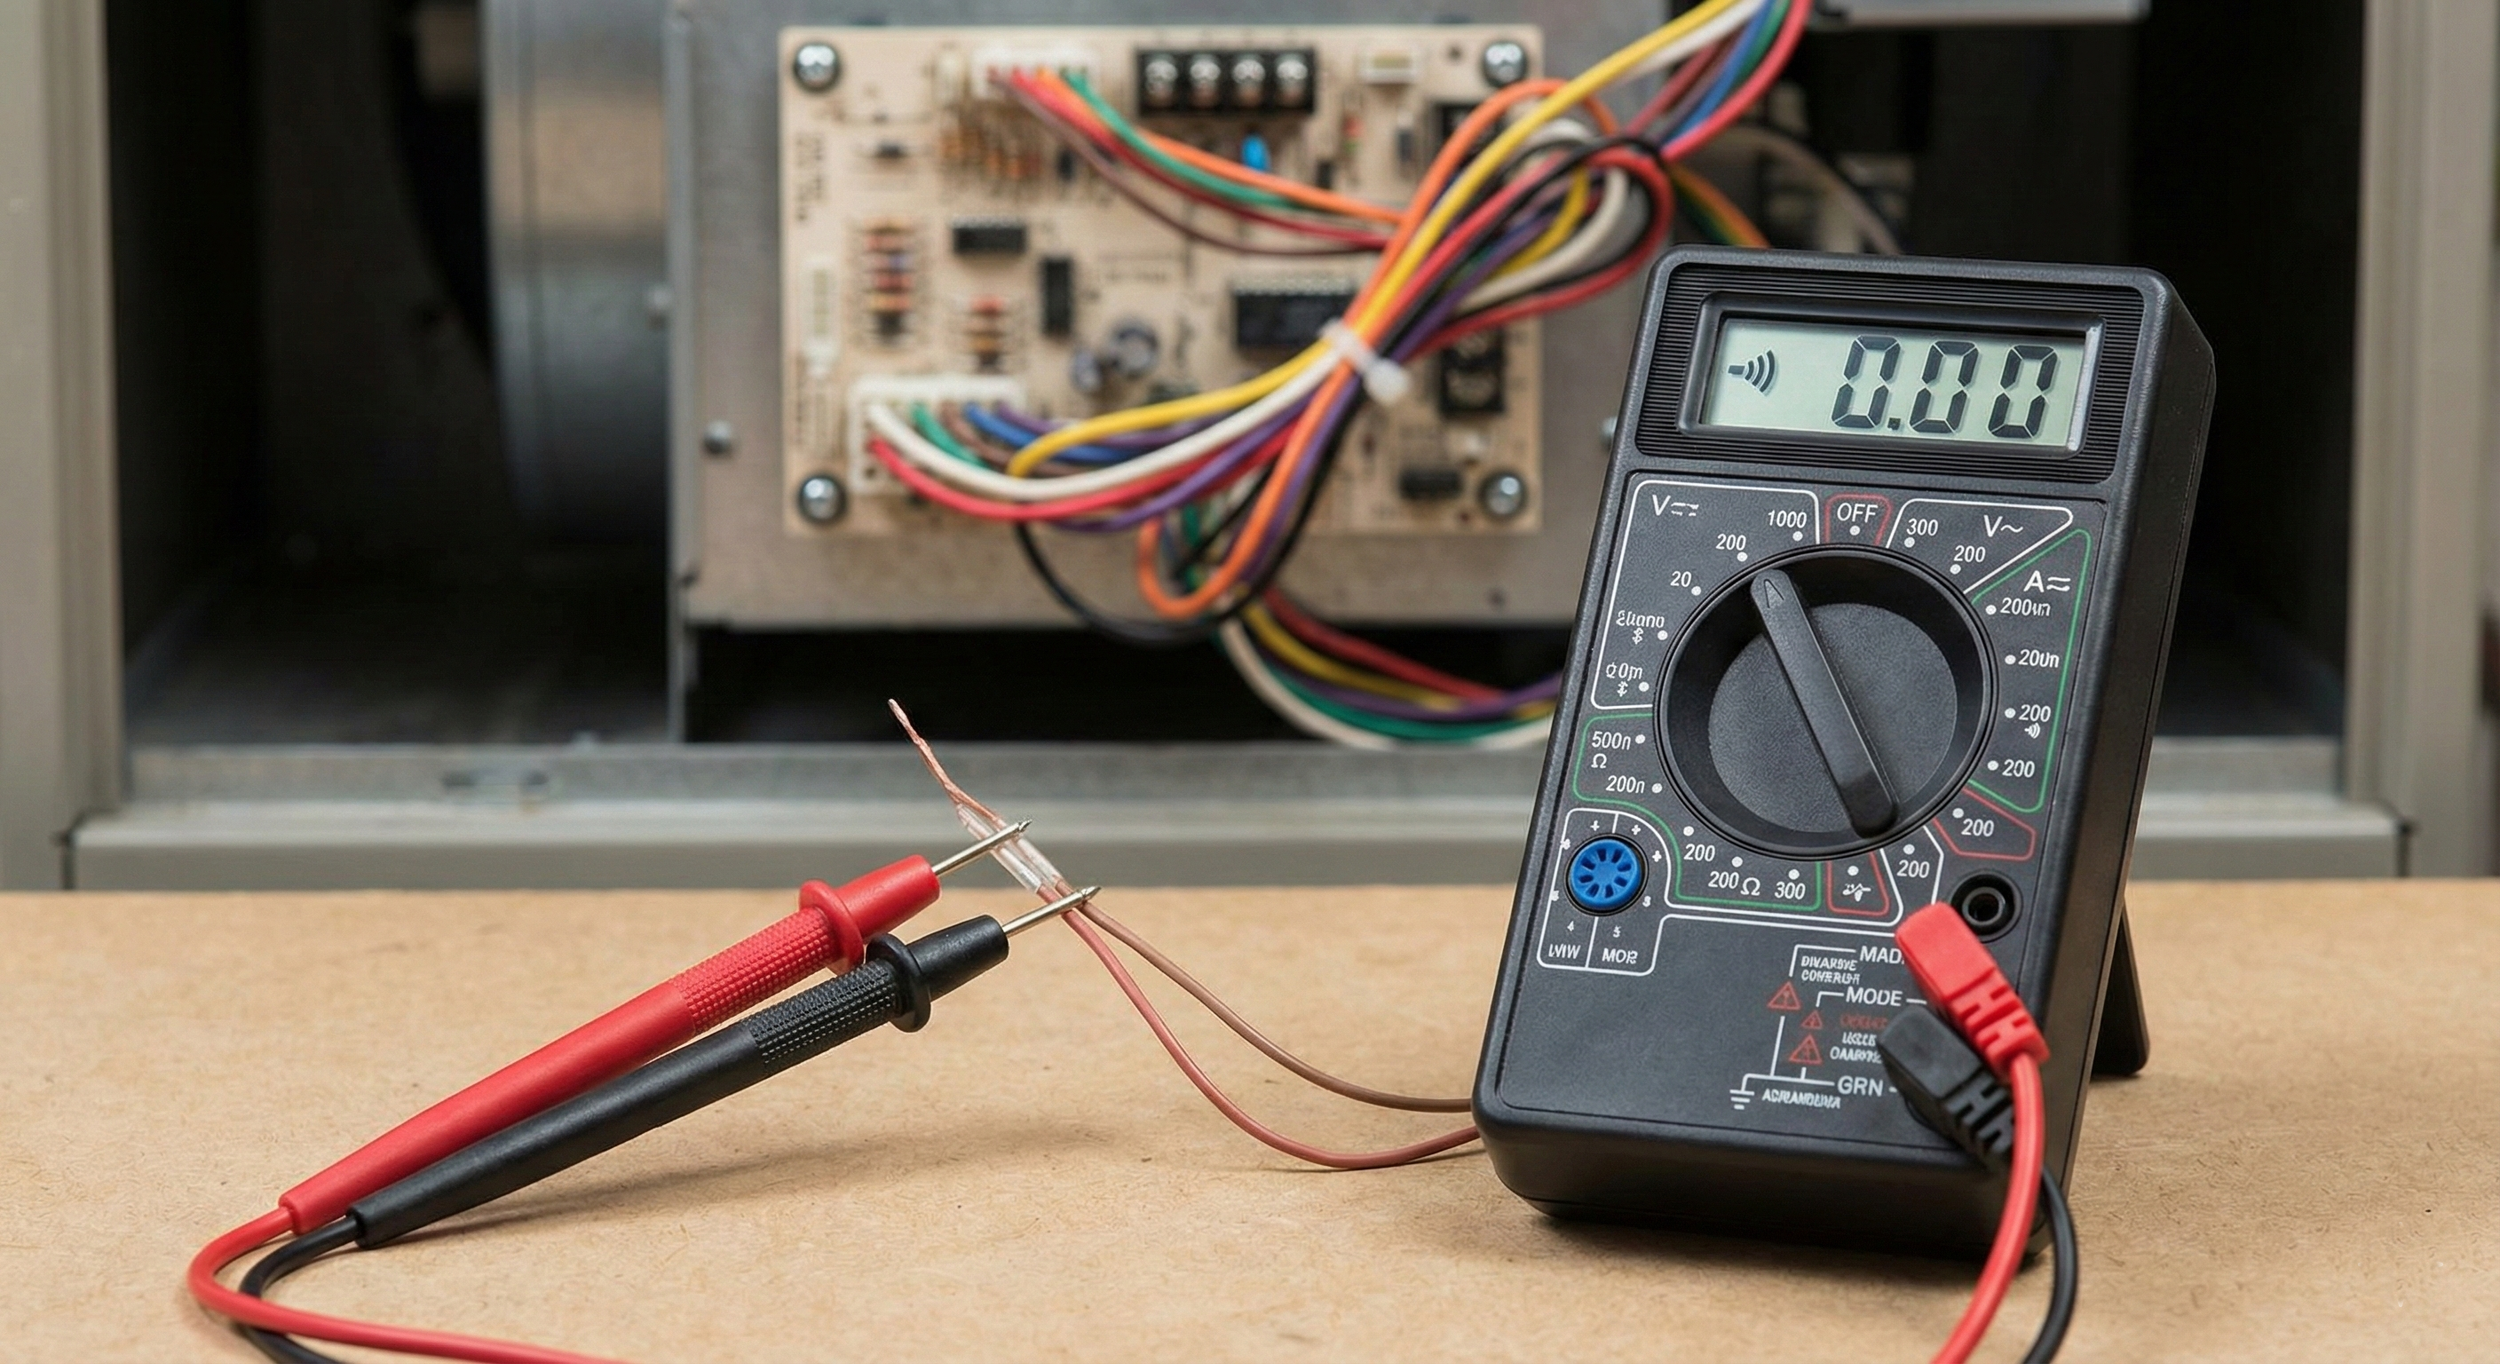
Multimeter displaying a dead short during HVAC wiring troubleshooting.
Phase 2: Tracing the Path
Finding out that the wire is shorted is easy. Finding where is the hard part. If you cannot easily pull a new wire, you might want to locate the damage.
The Visual Inspection Checklist
Before you start cutting drywall, look for these common culprits:
The "Renovation" Short: Did you or a previous owner recently hang shelves, pictures, or cabinets? A screw driven through a stud can easily pierce the low voltage bundle.
The Attic Entry: Check where the wire exits the top plate of the wall into the attic. This is a prime spot for wire insulation to get snagged on nails or truss plates.
The Outdoor Whip: For the wire running to your AC condenser (the Y and C wires), check the whip the flexible conduit outside. Weed eaters and dog chewing often damage these wires near the unit.
Using a Tone Generator
This is an advanced troubleshooting electrical wiring technique.
Hook up the Generator: Clip the tone generator's red lead to the suspect wire and the black lead to a ground.
Scan the Wall: Use the probe wand to sweep over the drywall. The wand will emit a loud warbling sound when it is near the wire.
Find the Dead Zone: Follow the sound along the wall. If the sound suddenly stops or changes pitch drastically at a specific stud bay, you have likely found the break or the short to ground.
Phase 3: The Solution. Repair or Abandon?
Once you have confirmed a short inside a finished wall, you have a decision to make.
Option A: The Surgical Repair If you traced the short to a specific spot (like that nail holding up a painting), you can cut a small hole, splice the wire, and patch the wall. Note: Only use approved low voltage splices and heat shrink; electrical tape alone will dry out and fail.
Option B: The Wire Swap If you have an unused spare wire in your thermostat bundle (often a blue or brown wire wrapped around the casing), you are in luck.
Disconnect the shorted wire (e.g., the Yellow wire) at both ends.
Connect the spare wire to the "Y" terminal at the thermostat and the furnace.
Problem solved without cutting walls.
Option C: Abandon and Re-run If the wire is stapled to studs inside the wall (common in older homes) and you cannot pull it out, cut the old wire short so it can't be used again. Push it into the wall. Then, fish a brand new thermostat wire using a fish tape, or route it through a closet or attic to bypass the damage entirely.
Summary: Don't let the Ghost Win
Troubleshooting hidden wiring isn't about magic; it's about methodically eliminating variables. By isolating the field wiring from the equipment, you stop guessing and start knowing. Whether you swap a wire or run a new line, you’ve saved yourself the cost of a new control board and countless blown fuses.
Relevant Video: For a visual guide on using a multimeter to find these specific shorts, check out this video: Diagnosing Low Voltage Shorts With The Fuse Saver.