

A Safety Guide to Residential HVAC Electrical Troubleshooting
Introduction: Don't Spend $500 on a $50 Problem
We’ve all been there: the house is 80 degrees, the thermostat says "Cool On," but nothing is happening outside. Most people immediately call a repair company and prepare to pay a massive diagnostic fee. But what if the fix is just a $40 part and 20 minutes of your time?
In the industry, we call blindly replacing parts the "Parts Cannon." It’s expensive and frustrating. Instead, we’re going to teach you the "Path of Power"—a logic-based way to perform residential electrical troubleshooting that keeps you safe and keeps your wallet full.
1. The Survival Rules: Respect the Voltage
Before you grab a screwdriver, you have to ensure you aren't becoming part of the circuit. To troubleshoot electric systems safely, follow these "Reaper Rules":
Kill the Power Twice: Turn off the circuit breaker at the main panel and pull the disconnect at the outdoor unit.
The "One Hand" Rule: When you eventually have to test a live wire with a meter, keep your left hand in your back pocket. This prevents electricity from finding a path through your heart.
The Sniff Test: Before you touch anything, smell the air near the control board. If it smells like "burnt fish" or ozone, you’ve likely found a fried transformer or board.
2. Your Diagnostic Toolkit
You can’t see electricity, so you need tools that can.
Multimeter (The Essential): You need this to check for 240V (High Voltage) and 24V (Control Voltage).
Non-Contact Voltage Tester: A "chirper" that tells you if a wire is hot without touching it.
Insulated Nut Drivers: For removing panels safely.
3. The "Path of Power": Where is the Flow Stopping?
Think of hvac electrical troubleshooting like checking a garden hose for kinks. If water isn't coming out the end, you follow the hose back to the faucet to see where it stopped.
Step 1: The Thermostat (The Faucet)
If your thermostat screen is blank, the "faucet" is off. Check your batteries or see if a fuse blew on the indoor furnace board. No 24V signal means the outdoor unit will never start.
Step 2: The Capacitor (The Turbocharger)
If the outdoor unit is humming but the fan isn't spinning, the "Turbocharger" is likely dead. The Visual Check: Look at the top of the silver capacitor. If it is domed or bulged like a soda can left in a hot car, it’s finished.
Step 3: The Contactor (The Bridge)
This is a relay that closes a "bridge" to let power reach the compressor. If you see the middle plunger "sucked in" but the motor isn't running, the copper "feet" (contacts) inside are likely burnt or pitted.
4. The "Hopscotch" Method: For New Techs & Bold DIYers
If the basics look good, we use the Hopscotch Method to find a hidden break.
How it works: Put one probe of your meter on the "Common" wire.
The Move: "Hop" your other probe along the safety switches (high-pressure switch, float switch, etc.).
The Discovery: The moment your meter drops from 24V to 0V, you’ve just "hopped" over the broken component.
5. Knowing Your Limits: When to Call the Pros
Residential electrical troubleshooting is about knowing when you're beat. Call a licensed tech if:
The breaker trips the instant you flip it on (Short to ground).
The compressor (the large black tank) is extremely hot to the touch but not running.
You see wires that have melted together.
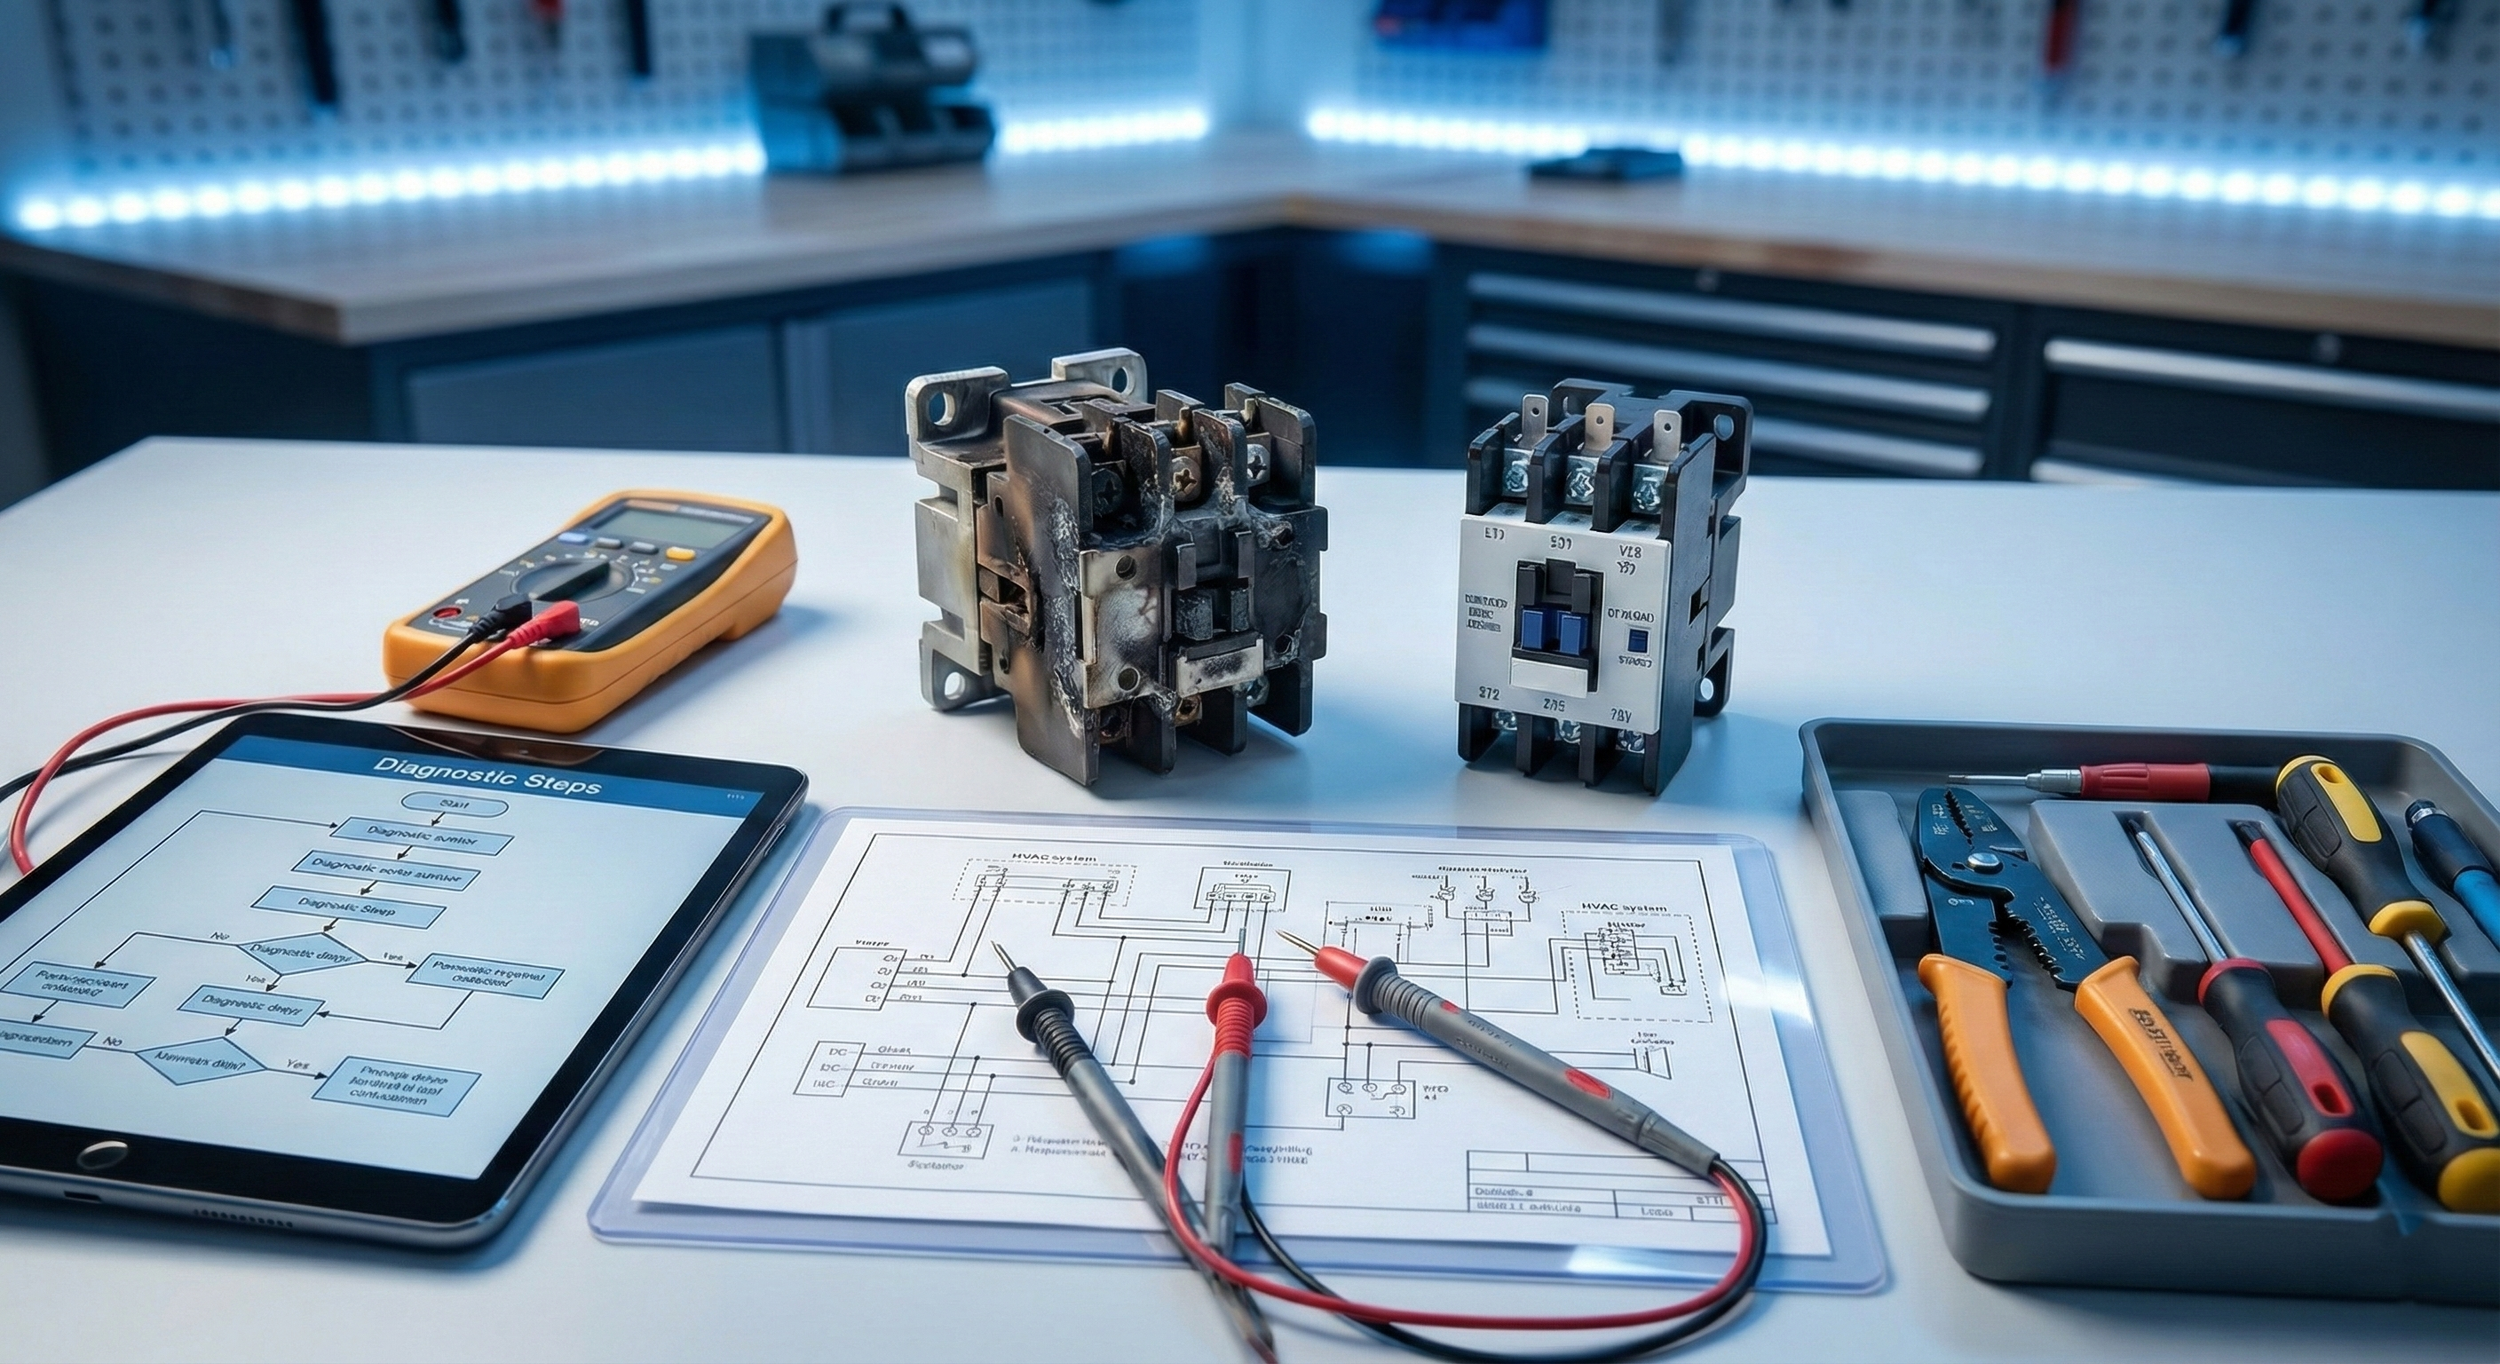
A professional workbench setup for residential electrical troubleshooting, featuring failed vs. new contactors, a multimeter, wiring diagrams, and a diagnostic tablet.
Conclusion: Take Control of Your Comfort
You don't need a trade school degree to find the most common hvac electrical failures. By following a logical path and respecting the power of the system, you can diagnose your own home like a pro.
Want to Stop Guessing for Good?
If you're ready to master the multimeter and learn the secrets of the "HVAC Reaper," our online course is designed for you. We take you through real-world scenarios so you can fix your own system or start a new career with confidence.
👉 [Enroll in our Online HVAC Maintenance Course Here] 👈
⚠️ SAFETY & LIABILITY DISCLAIMER
The information provided in this guide is for educational and informational purposes only. Working with residential HVAC systems involves exposure to high-voltage electricity and pressurized refrigerants, which can cause severe injury, death, or property damage if handled incorrectly. If you are not comfortable working around live electricity or do not have the proper tools, stop immediately and contact a licensed HVAC professional. By using this guide, you assume all risks associated with the repair and agree that the author and "HVAC Reaper" are not liable for any damages or injuries incurred.